How can we help?
Search for answers or browse our knowledge base
Installation of a licence key
The purpose of this tutorial is to explain how to install a license key.
Note: You must have access to the GTAdmin module to complete this tutorial.
Preliminary operations
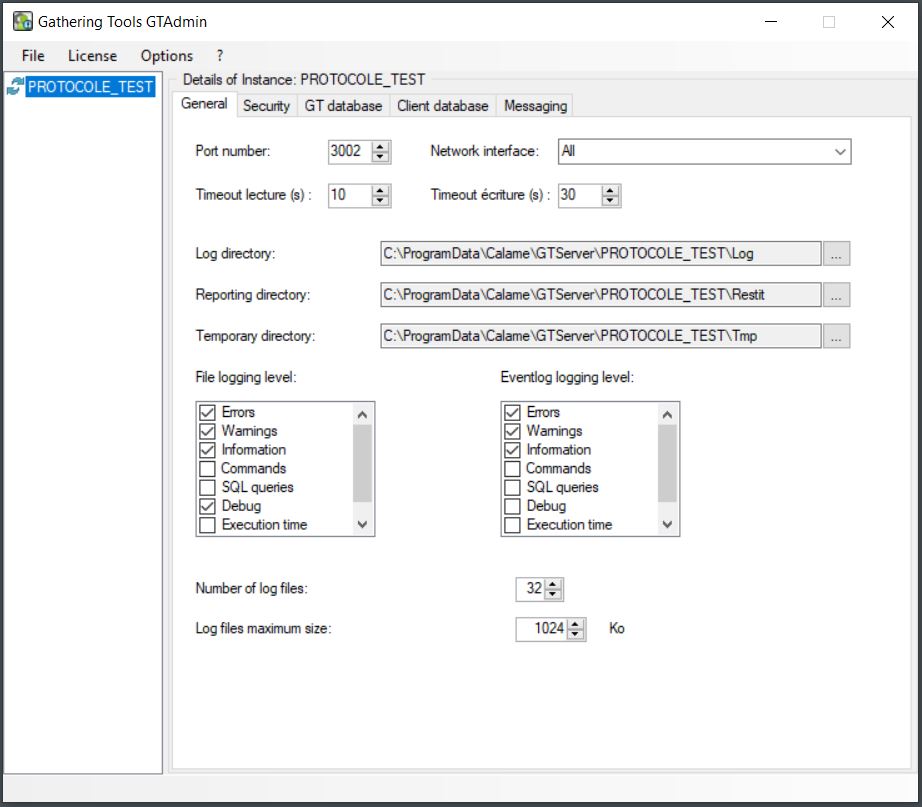
Start GTAdmin. 
The instance is in service
(recognizable by its 2 circular green arrows)
Stop the instance service
In GTAdmin stop the instance service.
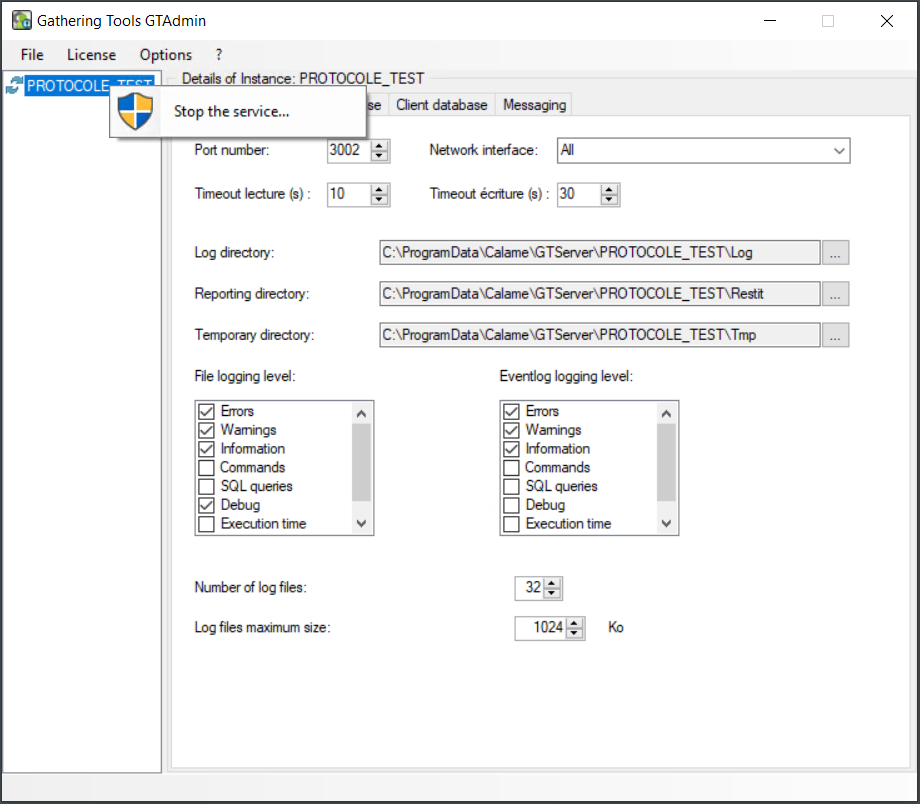
- Right-click
- Stop the service on the instance
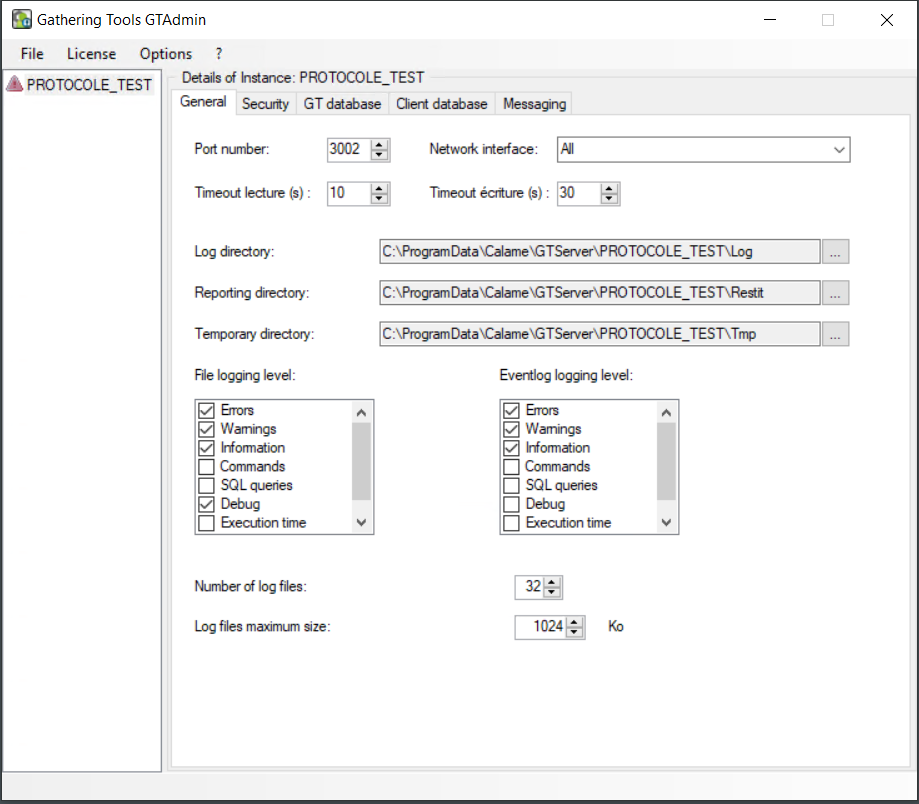
The arrows disappear to make way for a red panel
The instance is then stopped
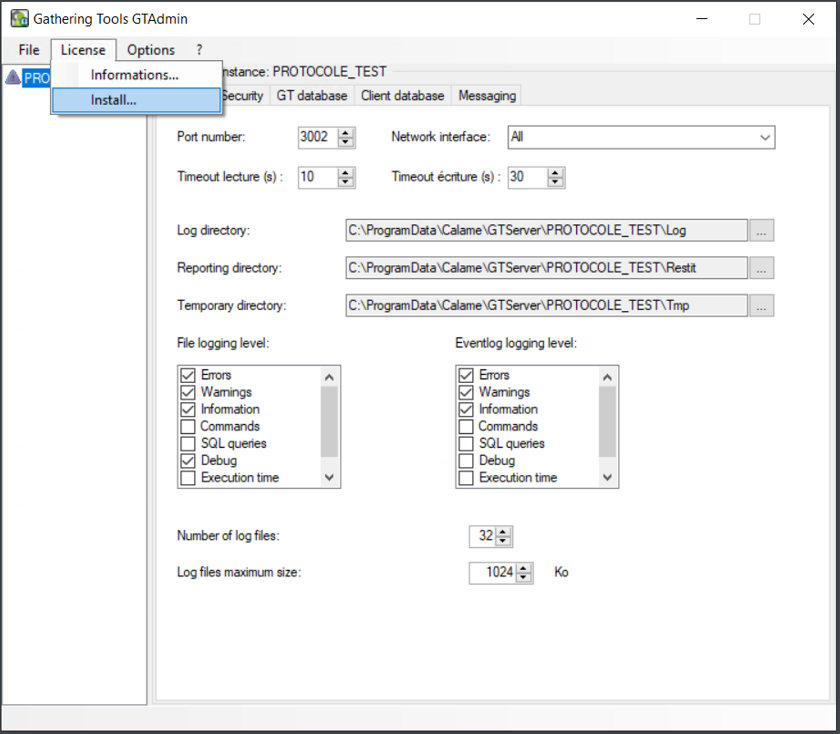
Access the license order
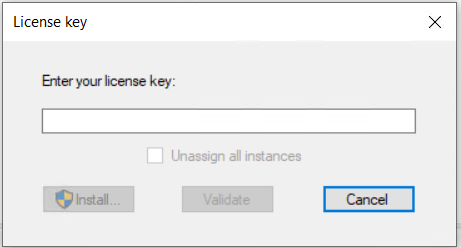
click on “Install” A window appear
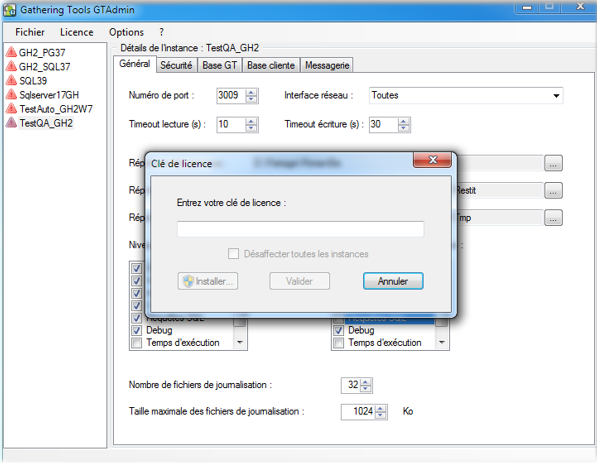
Support has sent you an installation key
In our demonstration:

In the enter your license key window
1) With the “Validate” button
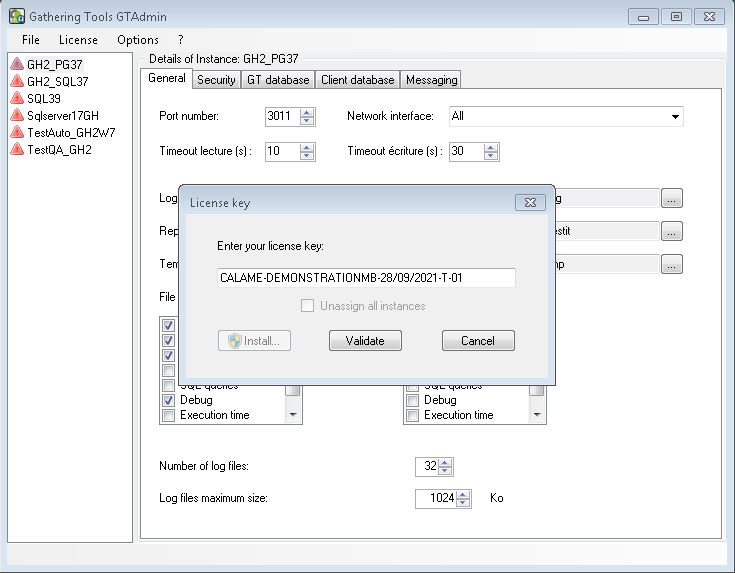
1.Enter the new license key
2.Click on the “Validate” button
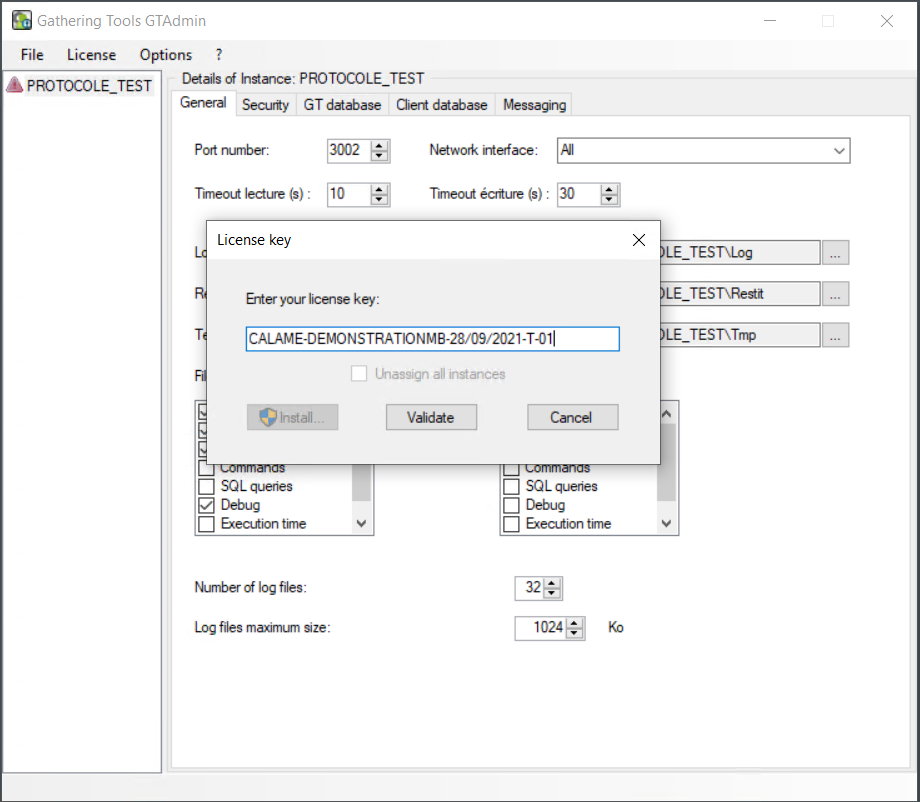
Then click on “Install”
2) With the “Generate” button
If a “Generate” button replaces the “Validate” button
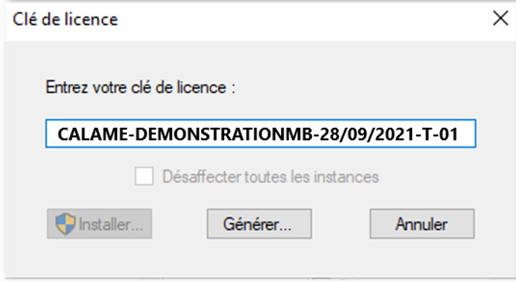
1.Close the dialog box with the message informing of the connection failure.
2.Enter the license key received from the media
3.Click on the “Generate” button
Procèdure à suivre:
Procedure to be followed:
1.The proposed text in the text box starting with
----- BEGIN GTLIC DATA1 TO SEND -----
of the panel is to be sent in an email to the support (support@gathering-tools.com).
2.In return, the support sends you an email containing a new text starting with
----- BEGIN GTLIC DATA2 RECV -----
3.The support return text is to be entered in the next panel of the configuration wizard.
4.Click on the “Validate” button
5.Then continue the installation by clicking the Install button in the previous box requesting the license key
Assign instances
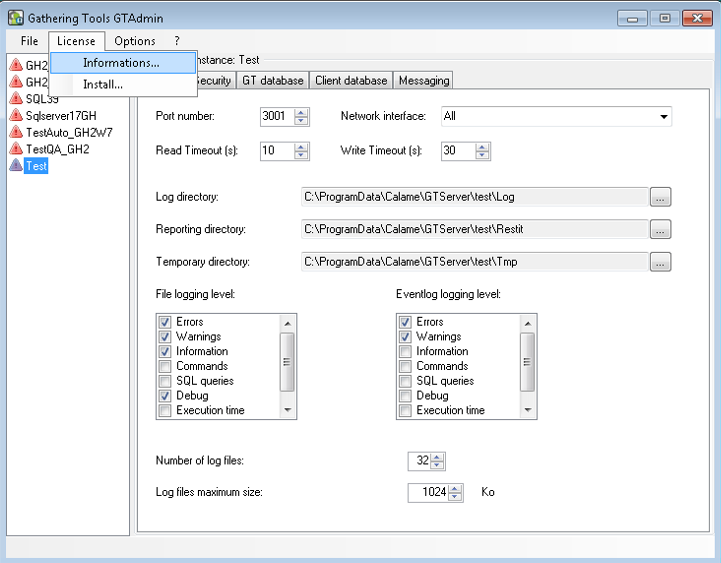
Once the license key is installed, go to the “License/Information…” menu
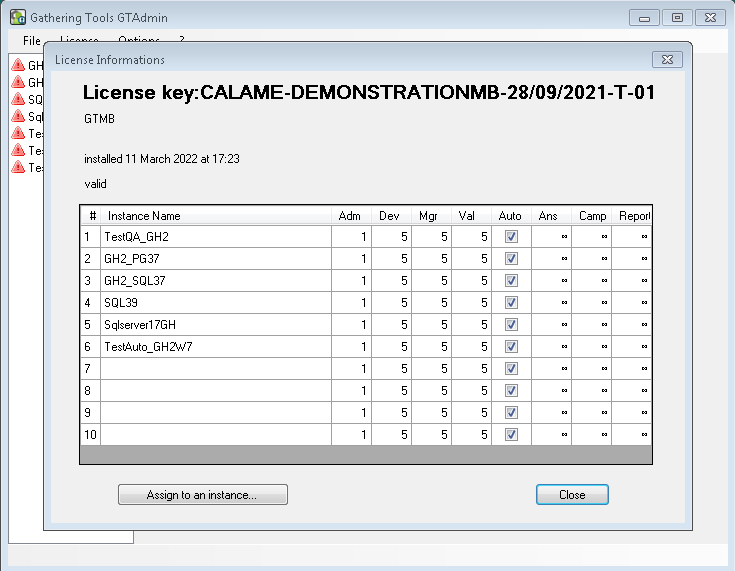
This box allows you to associate the instances declared in GTAdmin with the instance numbers of the license key and to view the characteristics of each instance license (number of administrators, developers, automation licenses, managers and validators)
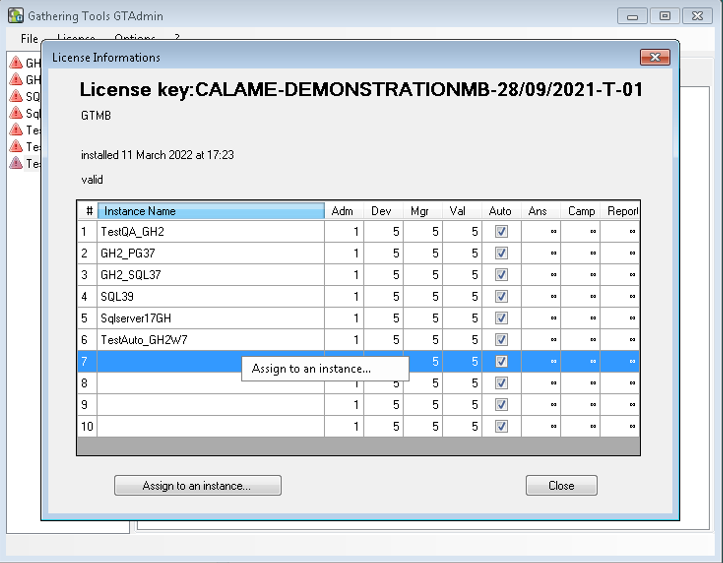
1.Select an instance number of the key (the line appears in blue)
2.Assign to an instance
3.Click on “Assign to an instance…”
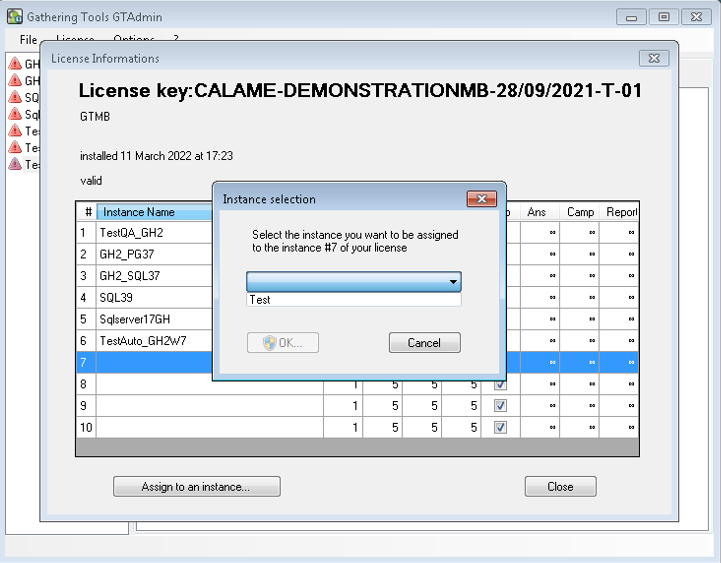
A dialog box allows you to assign this key instance number to an instance declared in GTAdmin
1.Select the key instance from the drop-down menu
2.Click “OK”
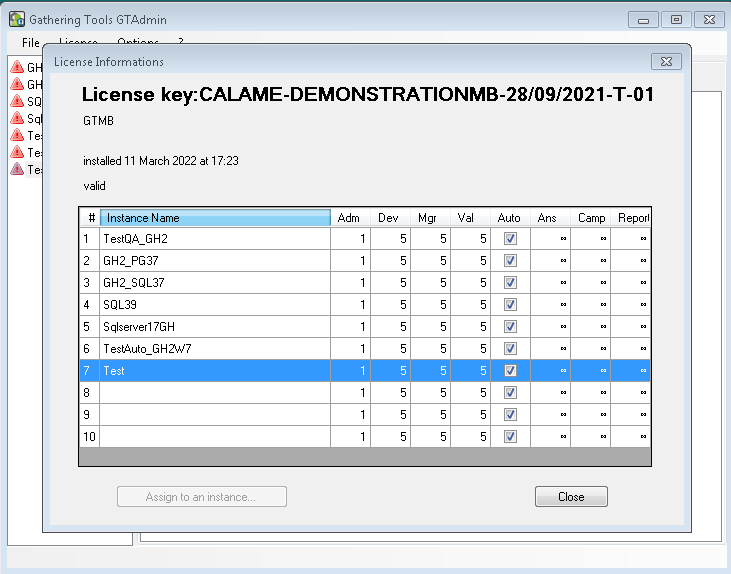
1.Your instance appears in the “Instance Name” field
2.Click on “Close”
Restart the instance
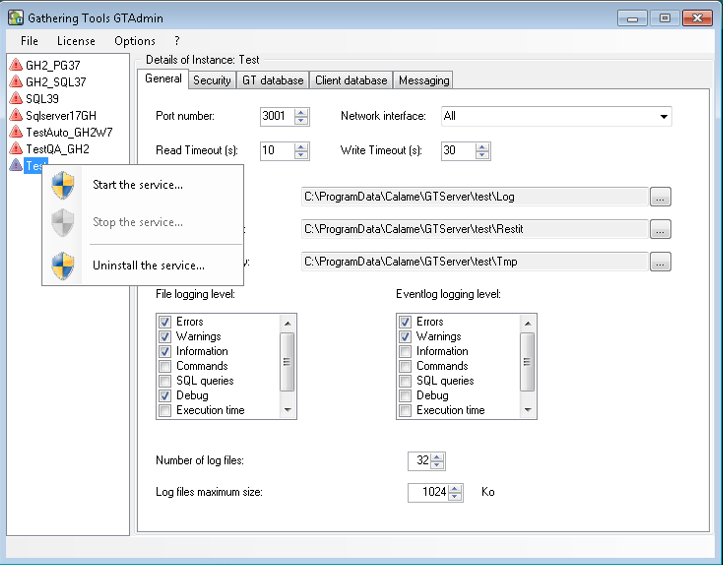
1.Right-click on the instance
2.Start the service
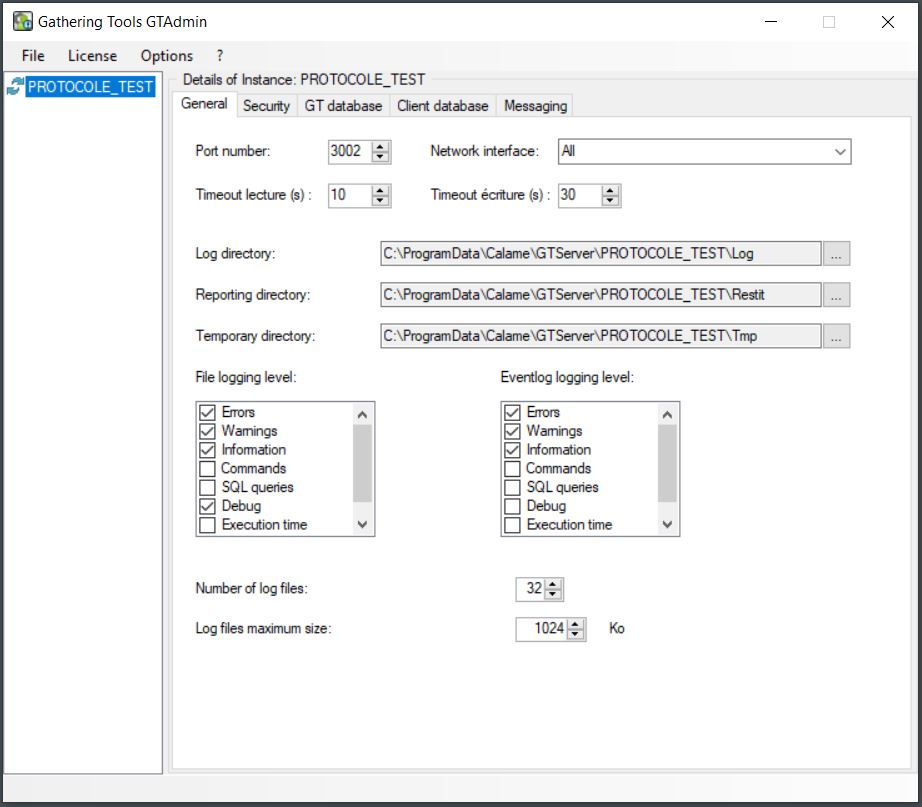
The instance is in service (recognizable by its 2 circular green arrows)
The installation guide contains all the necessary information.


